How does the “contact-point-to-contact-point” or “parallel-lines” aiming system work?
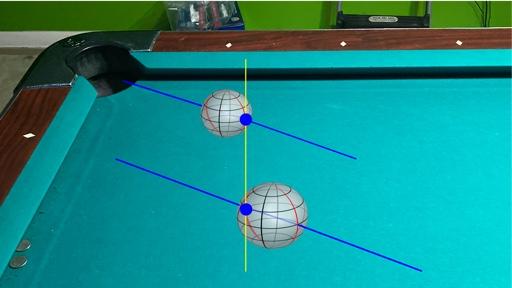
It is described an demonstrated in detail, along with other common aiming systems, in How to Aim Pool Shots (HAPS). Also see: “Aim, Align, Sight – Part I: Introduction and Ghost Ball Systems” (BD, June, 2011). Here’s a useful illustration from the article:
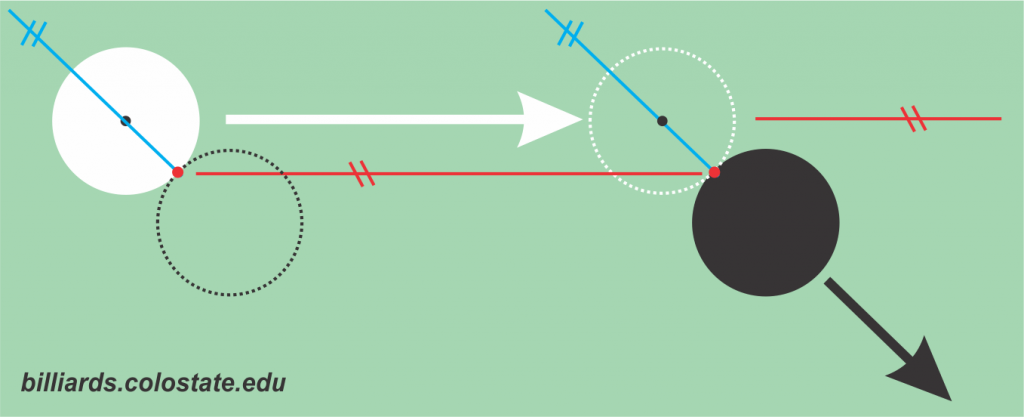
and here’s how it works:
- Visualize a line through the center of the OB in the target direction. This locates the CP (red dot) on the OB.
- Shift this line to the CB, keeping it parallel to the line in step one (see the blue lines). This defines the CP on the CB.
- Visualize a line through the CB CP and the OB CP (see the red line).
- Parallel shift this line to the center of the CB. The result is the required aiming direction (neglecting CIT, of course).
Other parallel lines relative to edges of the ghost ball (GB) can also be useful in visualizing proper aiming, per the diagram below. The inner and/or outer GB-OB edge lines (orange) parallel to the desired OB target direction can be visualized to help clearly see where the OB needs to head, and the inner and/or outer CB-GB edge lines (yellow) parallel to the necessary CB aiming-line direction can be visualized to help with final aiming.
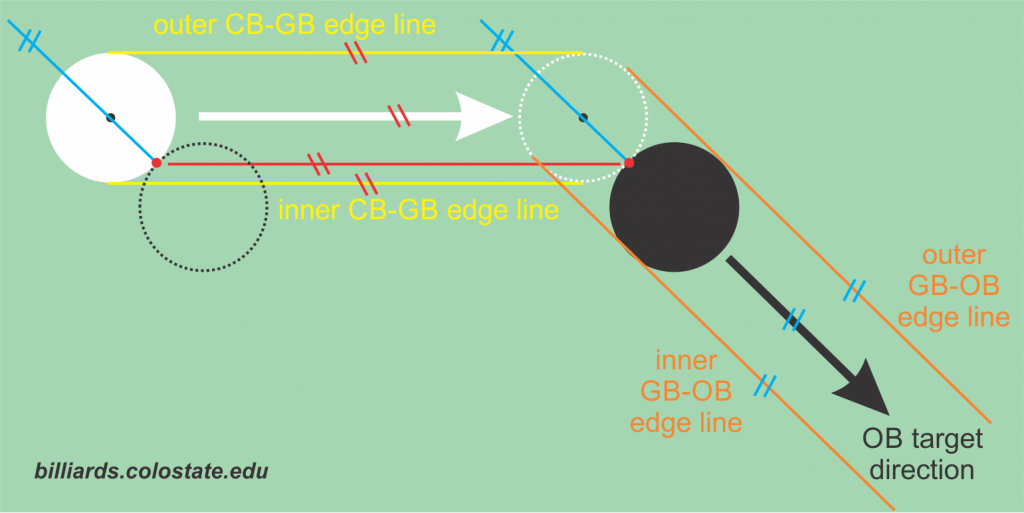
One way to help visualize the outer GB-OB edge line is to imagine that the OB is frozen to an imaginary rail leading to the pocket. This can help some people visualize the angle of the shot and be more effective.
A good template showing how the contact point and ball overlap change with cut angle is available on the cut angle estimation resource page. The template is useful for practicing aim visualization.
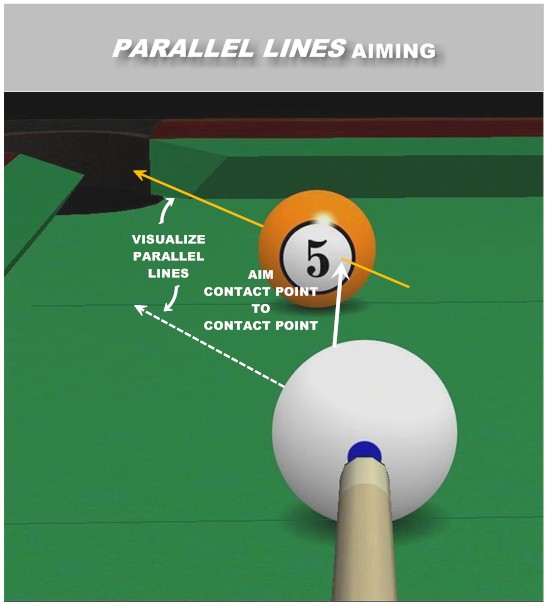
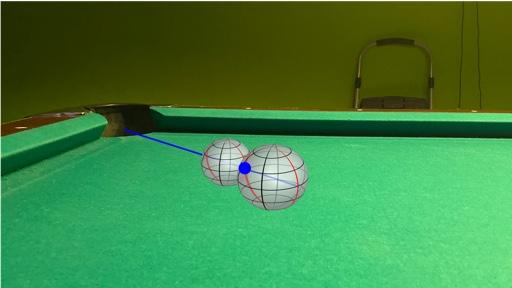
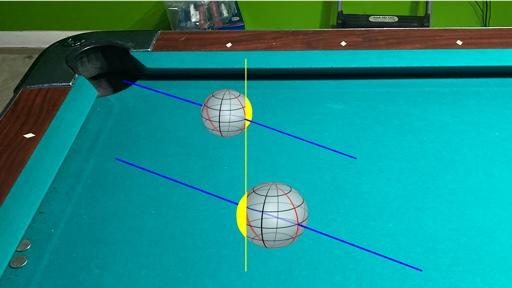
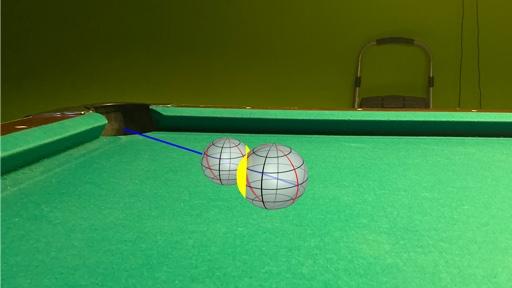
Here’s a simple way to use the contact point to aim shots:
from Patrick Johnson:
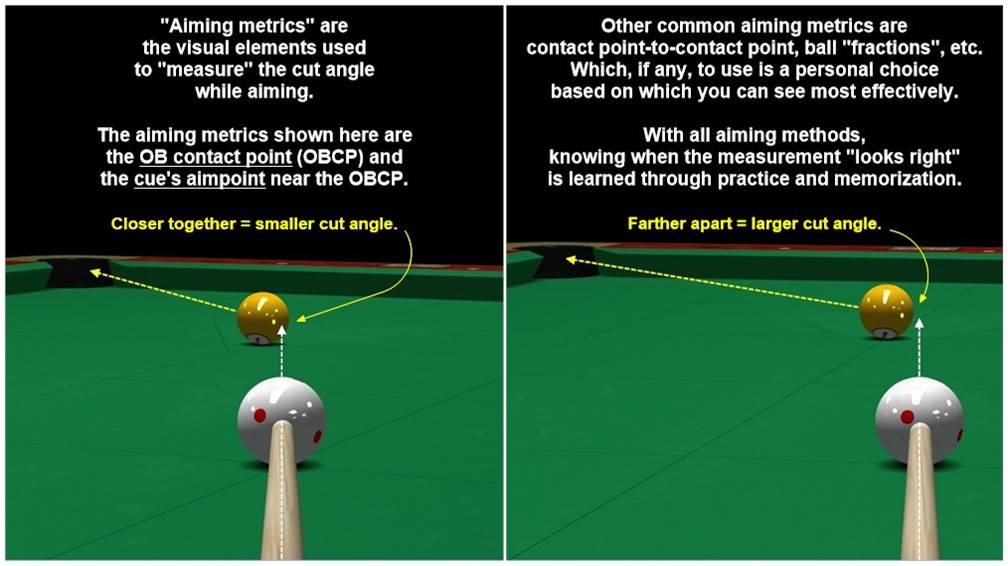
from Matt Poland (in AZB post):
Dr. Dave keeps this site commercial free, with no ads. If you appreciate the free resources, please consider making a one-time or monthly donation to show your support:
